
"I Wanted It to Be Absolutely Perfect"
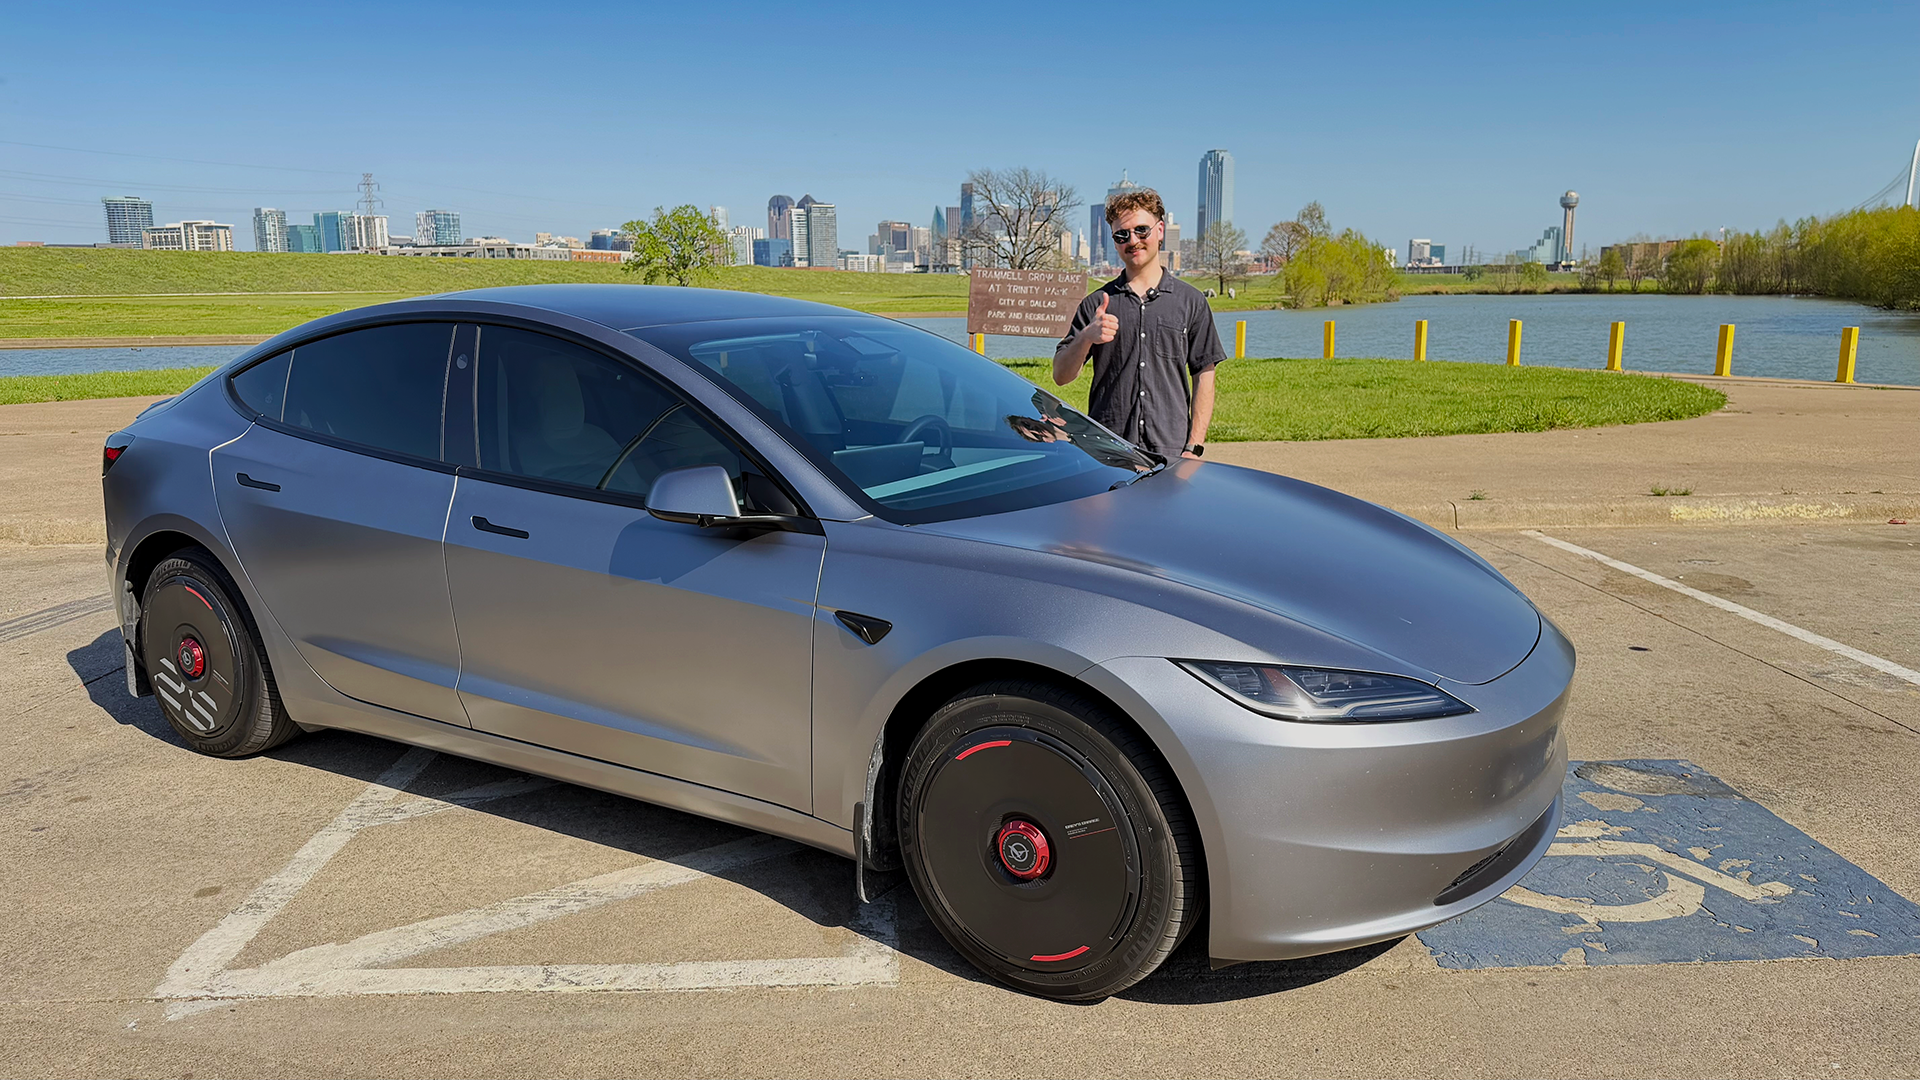
Matthew drives a Quicksilver Tesla Model 3 Long Range with white interior and a carbon fiber spoiler. We caught up with him in downtown Dallas to talk about why he chose to wrap his own car, how the install went, and what a first-timer can realistically expect from a full-vehicle DIY PPF job.
You've got a beautiful setup here — Quicksilver with the white interior. Walk me through why this combo.
To me, Quicksilver is the best color in various lightings. Close second to Ultra Red, but Quicksilver almost looks gray in dark lighting, then gives that gunmetal finish in brighter light, almost sparkly. And I think it pairs really well with the white interior. The white interior was a must-have for me no matter what color I picked, so when you put the two together, it just made sense.
So you wrapped this car in our Defense+ Matte PPF. Why did you decide to do it yourself, and why Drive Protected?
With anything I do to my cars, I do a lot of research first. Tesla paint has a reputation, so I knew going in that I wanted PPF one way or another. I looked at every option available in my area, looked into doing it myself, and did a deep dive across forums, Facebook, and Q&A sites. Everything kept pointing back to Drive Protected; good customer service, good templates, and specifically the camera cutouts. A lot of DIY kits struggle with those. That was a big one for me.
As for doing it myself, two reasons. Cost savings, obviously. You're paying a fraction of what a shop charges. But more than that, you have complete control over the quality. If a panel isn't right, you pull it, re-slip it, and do it again. That matters to me. I wanted it absolutely perfect, and DIY was the only way I could guarantee that.
You'd never done PPF before. How did you approach the installation videos?
I watched them (DP YouTube videos) before I even purchased the kit. Seeing how thorough Eric was, and the quality of the videos, that sealed the deal for me. I would've been a lot more hesitant without them. My pro tip: watch them through once at normal speed, then again at 1.5x. Then refer back to the specific panel video right before you install that piece. They cover every little thing; air pockets, where to start, which direction to work. Nothing was overlooked. And the kit itself gives you everything you need. The squeegees, the spray bottles, it's a complete setup to do it right the first time.
Let's walk around the car. What was the easiest panel?
The hood, and that's also where I started. Big flat surface, perfect for learning how the film moves and how much pressure you need on the squeegee. I also used the practice film from the kit to get a feel for it before committing to the real panel. I'd tell anyone to do that. Great starting point.
What gave you the most trouble?
The bumpers and the mirrors. The mirrors are small surface area with a lot of curvature, you kind of have to get it right the first try. Though you do include two sets in the kit, which is a lifesaver if the first attempt doesn't go perfectly. The rear bumper on the Highland Model 3 was probably the trickiest piece. It's painted all the way down to the very edge. There's no black plastic trim to stop at anymore. So you've got a serious stretch to pull the film all the way down there. Hot water tack and slip help, but at times I had to pour a cup of hot water directly onto the film just to get it pliable enough. Once you've got it though, the end section just falls into place. You barely have to think about it.
Talk to me about the camera cutouts, you mentioned those were a big reason you chose Drive Protected.
Yeah, and they did not disappoint. The film doesn't just go around the cameras, it's shaped to tuck in behind each one once you slip it into position. You squeegee it right in and it looks like you pulled the camera to do a bulk install. That was exactly what I was hoping for.
What about the rear quarter panel? That's a big piece of film.
The seam where the quarter panel meets the rocker panel lines up right with the body line so once it's done, it's basically invisible. I was happy with how that came together.
How long did the full car take you?
I gave myself three days, worked morning to evening in my parents' garage with a Craftsman LED light. Got it done in about two and a half days taking my time. And I was being thorough. If I needed to redo a panel, I had the time built in for that. But it went smooth. I'd say give yourself at least a couple of days if you want to do it right.
Final question, would you recommend this to someone who's never done it?
Absolutely. It's DIYable. You're paying half the price, maybe a quarter of what a shop charges and you're getting the same protection. The hydrophobic properties alone are worth it. Bugs, dust, water, it all just comes right off. But honestly, my biggest recommendation is this: go watch the DIY install videos on Drive Protected's YouTube channel before you do anything else. Just watching those will tell you everything you need to know about whether you're ready to pull the trigger. If you've been thinking about it, just go for it.
See Matthews installation video - https://www.youtube.com/watch?v=RogabaUmev0
Share:
The Giveaway Model 3 Is Done — Here's Everything We Did to It
New LFP Battery in the Giveaway Tesla. Real Range & Degradation Results